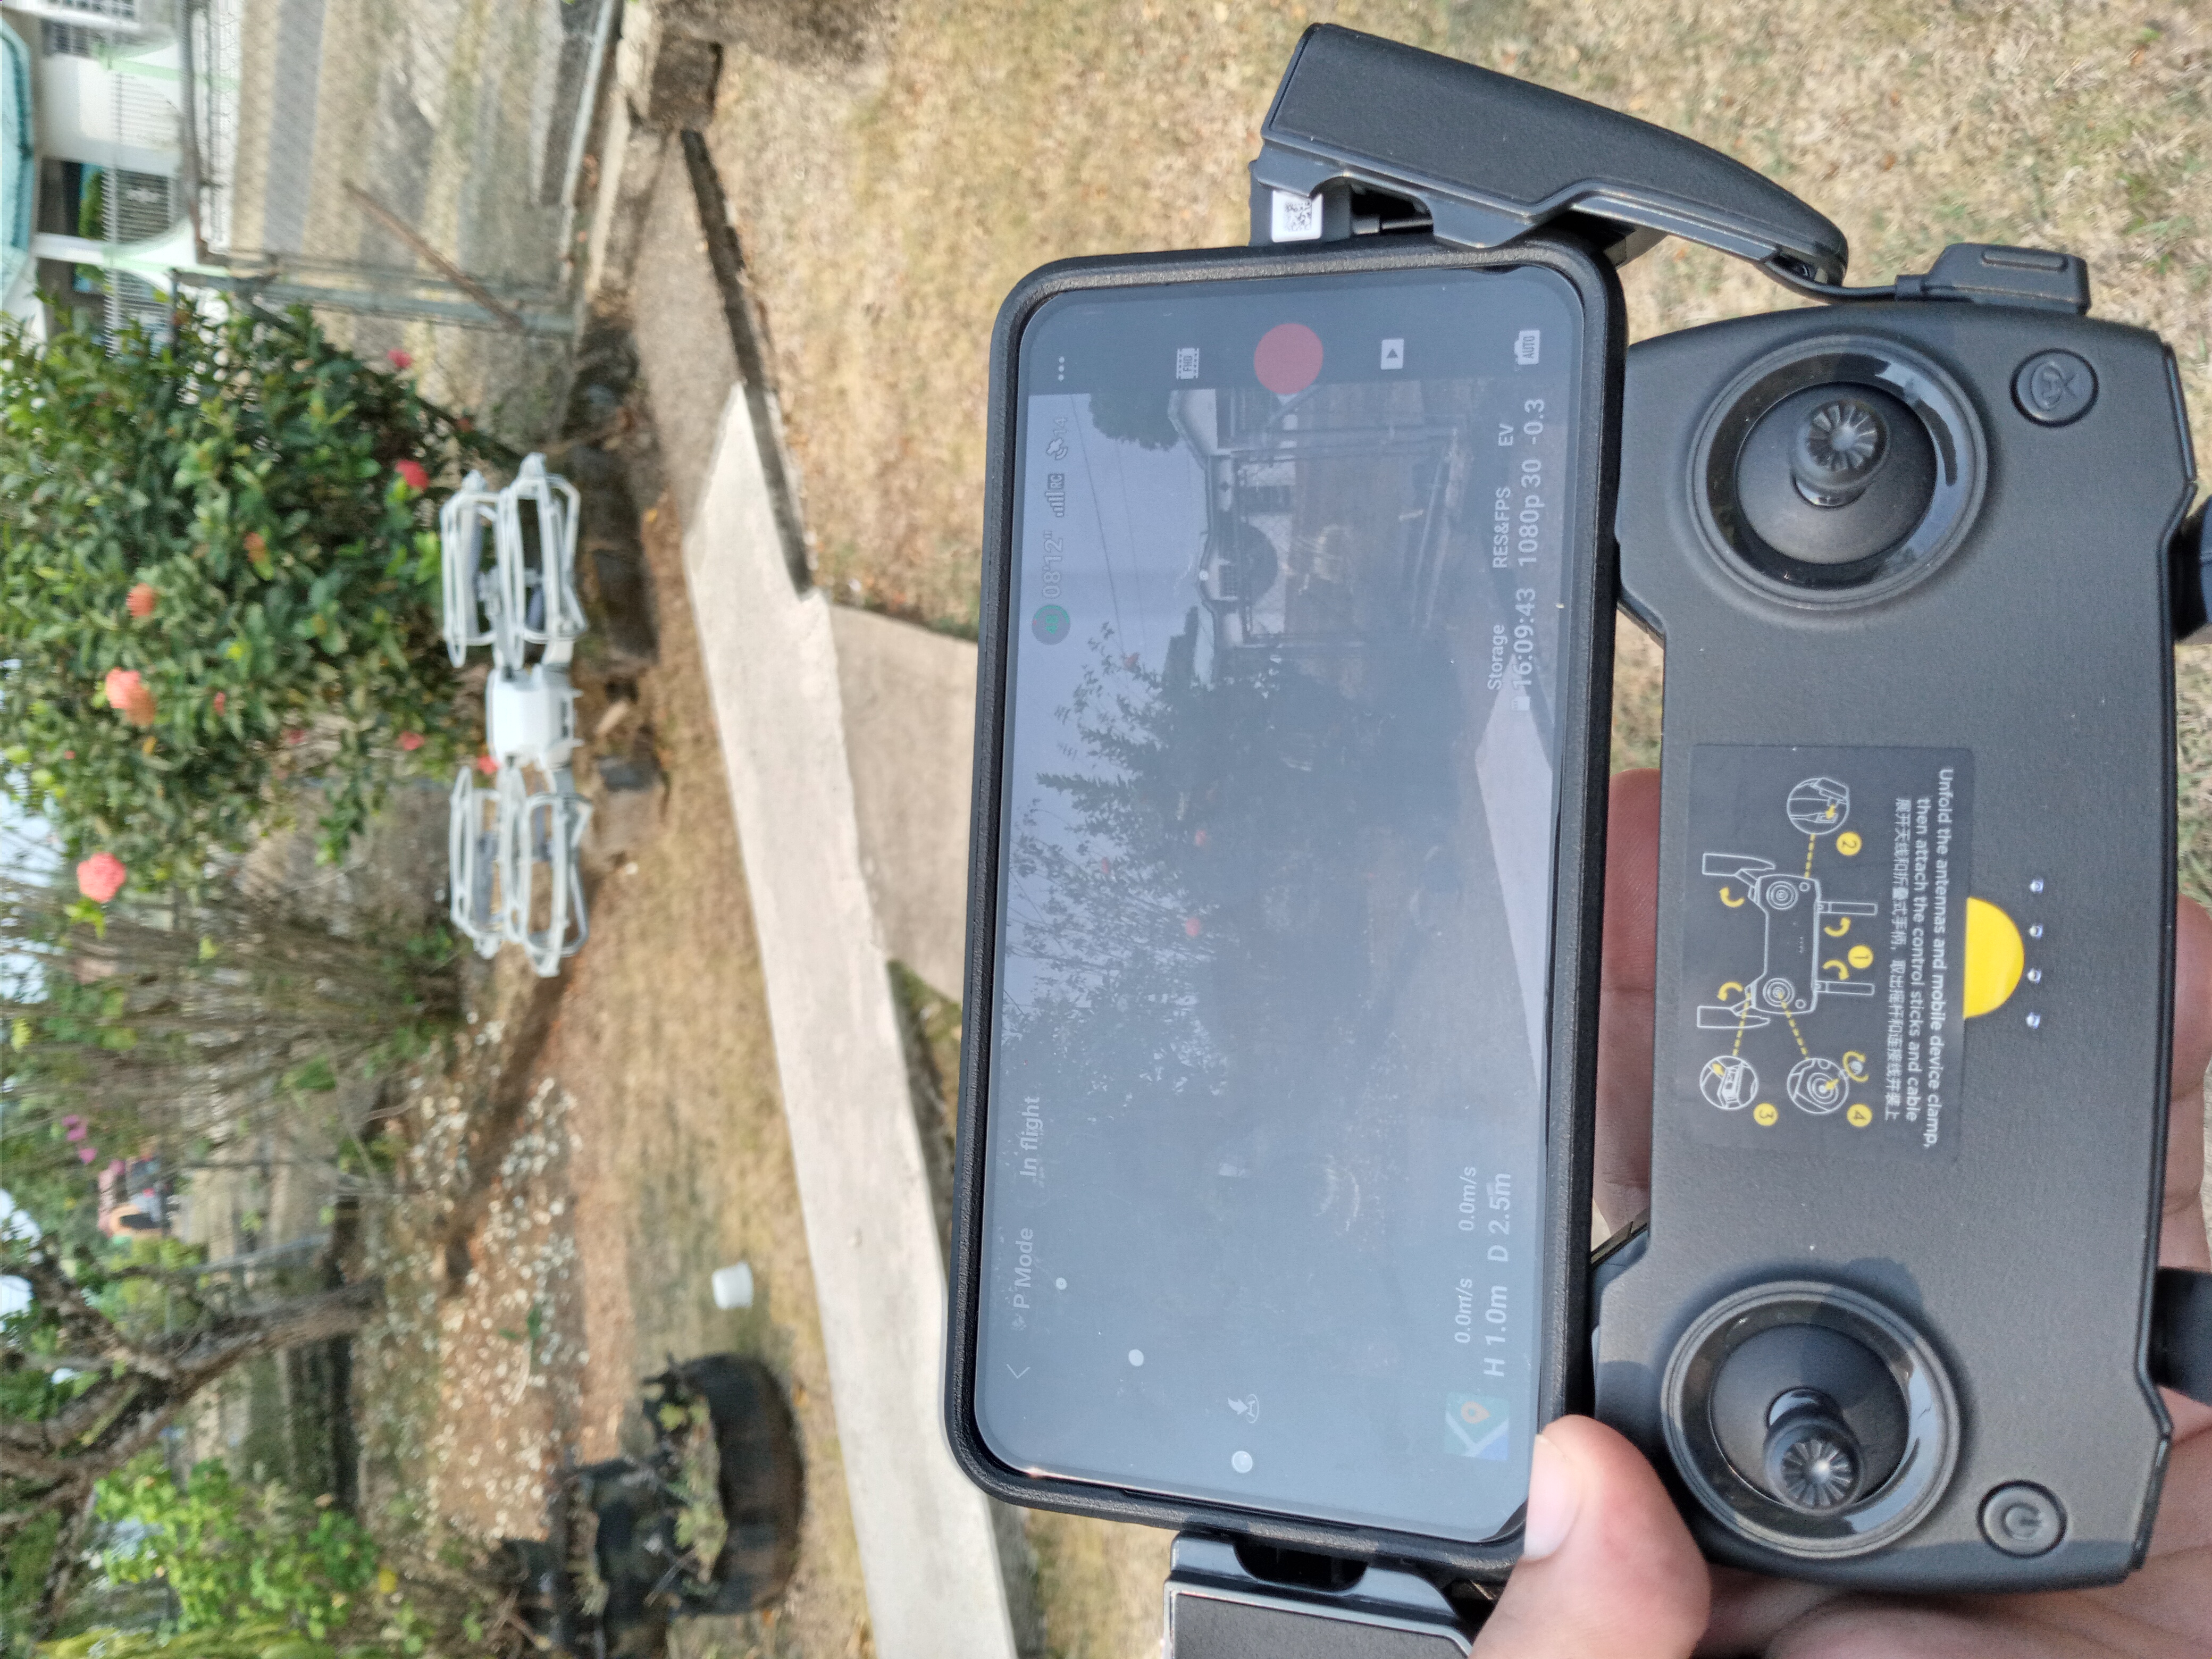
Drones without Borders


The term drone, more widely used by the public, was coined in reference to the early remotely-flown target aircraft used for practice firing of a battleship's guns, and the term was first used with the 1920s Fairey Queen and 1930's de Havilland Queen Bee target aircraft. These two were followed in service by the similarly named Airspeed Queen Wasp and Miles Queen Martinet, before ultimate replacement by the GAF Jindivik.

The term unmanned aircraft system (UAS) was adopted by the United States Department of Defense (DoD) and the United States Federal Aviation Administration in 2005 according to their Unmanned Aircraft System Roadmap 2005–2030. The International Civil Aviation Organization (ICAO) and the British Civil Aviation Authority adopted this term, also used in the European Union's Single-European-Sky (SES) Air-Traffic-Management (ATM) Research (SESAR Joint Undertaking) roadmap for 2020. This term emphasizes the importance of elements other than the aircraft. It includes elements such as ground control stations, data links and other support equipment. A similar term is an unmanned-aircraft vehicle system (UAVS), remotely piloted aerial vehicle (RPAV), remotely piloted aircraft system (RPAS). Many similar terms are in use.

A UAV is defined as a "powered, aerial vehicle that does not carry a human operator, uses aerodynamic forces to provide vehicle lift, can fly autonomously or be piloted remotely, can be expendable or recoverable, and can carry a lethal or nonlethal payload". Therefore, missiles are not considered UAVs because the vehicle itself is a weapon that is not reused, though it is also uncrewed and in some cases remotely guided. That being said, UAV is a term that is commonly applied to military use cases.

The terms autonomous drone and UAV are often wrongfully used interchangeably. This could stem from the fact that many UAVs are automated, i.e. they carry out automated missions but still rely on human operators. However, an autonomous drone is a "UAV that can operate without any human intervention". In other words, autonomous drones take off, carry out missions, and land completely autonomously. Thus, an autonomous drone is a type of UAV but a UAV is not necessarily an autonomous drone. Fully autonomous Percepto drone landing in strong winds without any human intervention.

As autonomous drones are not piloted by humans, a ground control system, or communications management software, plays a major role in their operations, and thus they are also considered part of a UAS. In addition to the software, autonomous drones also employ a host of advanced technologies that allow them to carry out their missions without human intervention, such as cloud computing, computer vision, artificial intelligence, machine learning, deep learning, and thermal sensors.

Building a UAV (unmanned aerial vehicle) is similar to building a quadcopter, but with some additional considerations and components. Here are some general steps to consider when building a UAV:

1. Determine the mission: Start by determining the mission or purpose of your UAV. This will help you choose the appropriate components and design.

2. Research and select components: Research and select components such as the airframe, propulsion system, sensors, autopilot, power supply, and communication system. Make sure the components you choose are compatible with each other and suitable for your mission.

3. Assemble the airframe: The airframe is the body of the UAV, and it needs to be strong, lightweight, and aerodynamic. Choose a material such as carbon fiber, aluminum, or plastic and follow the manufacturer's instructions to assemble the airframe.

4. Install the propulsion system: The propulsion system is responsible for lifting the UAV off the ground and propelling it through the air. Depending on your mission, you may choose to use a fixed-wing, rotary-wing, or hybrid system. Install the motor(s), propeller(s), and any other components of your chosen propulsion system.

5. Install the sensors: Sensors are essential for gathering data about the environment, such as altitude, airspeed, temperature, and humidity. Choose the appropriate sensors for your mission and mount them on the airframe.

6. Install the autopilot: The autopilot is the brain of the UAV, controlling the flight path, speed, and other flight parameters. Choose an appropriate autopilot for your mission and follow the manufacturer's instructions to install and configure it.

7. Install the power supply: The power supply is responsible for providing energy to the propulsion system, sensors, autopilot, and communication system. Choose an appropriate power supply such as batteries or fuel cells and follow the manufacturer's instructions to install it.

8. Install the communication system: The communication system is essential for sending and receiving data, such as telemetry, images, or video, from the UAV. Choose an appropriate communication system, such as a radio transmitter/receiver or a cellular network, and install it.

9. Test and tune: Once you have assembled and connected all of the components, it's time to test your UAV. Take it to an open area and make sure it flies steadily and responds to your commands. You may need to adjust the settings on the autopilot to optimize the UAV's performance.

Building a UAV can be a complex and potentially dangerous project. Make sure to follow all safety precautions, such as wearing protective gear and testing your UAV in a safe and open area. Additionally, make sure to comply with all applicable regulations and laws regarding UAVs.

Building a quadcopter can be a fun and rewarding project, but it can also be complex and challenging. Here are some general steps to consider when building a quadcopter:

1. Research: Start by researching the different components that make up a quadcopter, such as a frame, motors, electronic speed controllers (ESCs), flight controllers, batteries, and radio transmitters/receivers. Look for tutorials, guides, and other resources that can help you understand the different parts and how they work together.

2. Choose your components: Once you have a basic understanding of the components, you'll need to choose the specific parts you want to use in your quadcopter. Make sure to consider factors such as weight, size, power, and compatibility.

3. Assemble the frame: The frame is the foundation of your quadcopter, so you'll want to make sure it's sturdy and well-built. There are many different types of frames to choose from, including carbon fibre, aluminium, and plastic. Follow the manufacturer's instructions to assemble the frame, making sure to secure all of the parts tightly.

4. Install the motors and ESCs: The motors and ESCs are responsible for propelling the quadcopter through the air. You'll need to install one motor and ESC on each of the four arms of the frame. Ensure the motors and ESCs are compatible with each other and the flight controller.

5. Mount the flight controller: The flight controller is the quadcopter's brain, controlling the motors' speed and stabilizing the aircraft in the air. Follow the manufacturer's instructions to mount the flight controller securely on the frame.

6. Connect the components: Connect the ESCs to the flight controller, and the flight controller to the radio transmitter/receiver. Make sure all of the connections are secure and correctly configured.

7. Install the battery: The battery provides the power that drives the quadcopter. Choose a battery that is compatible with your other components and has enough capacity to power your quadcopter for the desired amount of time. Mount the battery securely on the frame and connect it to the ESCs.

8. Test and tune: Once you have assembled and connected all of the components, it's time to test your quadcopter. Take it to an open area and make sure it hovers steadily and responds to your commands. You may need to adjust the settings on the flight controller to optimize the quadcopter's performance.

Keep in mind that building a quadcopter can be a challenging and potentially dangerous project. Make sure to follow all safety precautions, such as wearing protective gear and testing your quadcopter in a safe and open area.

Aerial View of Belize City Coast (Captured 1914)

Cycloramic birds-eye views of Belize, British Honduras Digital ID: (digital file from intermediary roll film copy) pan 6a23393 http://hdl.loc.gov/loc.pnp/pan.6a23393 Reproduction Number: LC-DIG-ds-03061 (digital file from original item) Repository: Library of Congress Prints and Photographs Division Washington, D.C. 20540 USA